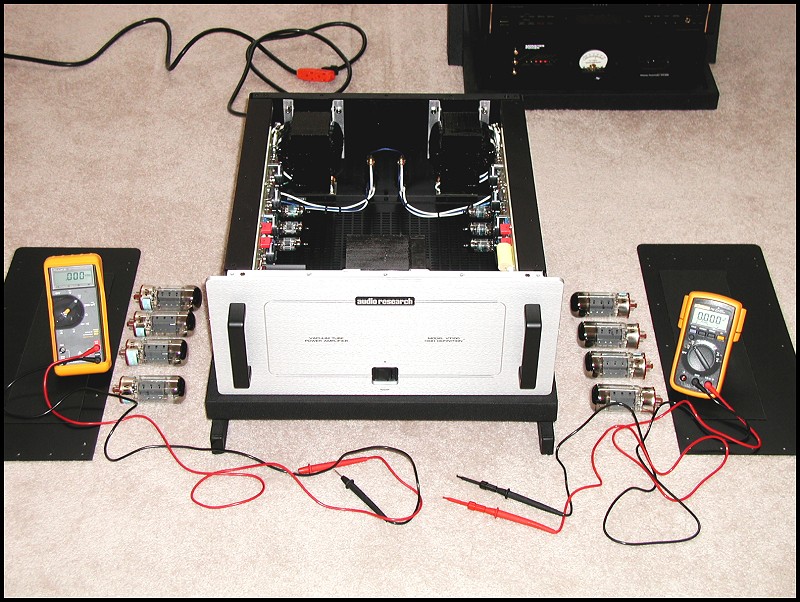
The VT100MKII has 4 power tubes and 4 driver tubes per channel for a total of 16 vacuum tubes. With the power turned off, start by removing the top cover and two side panels. Remove all 16 of the old tubes. Insert the new driver tubes but do not install the new power tubes just yet. Let the amp warm up for 30 minutes with the cover back on then adjust the drivers using the trimpots accessible from each side of the amplifier. Carefully follow the instructions and schematic diagram provided by Audio Research. More information is available as you move forward by clicking the picture above.
You will need at least one digital multimeter
(DMM) but two will make the job a little easier. You will also need
a small nonmetallic tweeker tool for adjusting the trimpots. I wouldn't
recommend this project for anyone who doesn't have some background in electronics
as an experienced hobbyist or technician. At the very least, you
will need to read schematic diagrams and know how to recognize the associated
components on the circuit board and understand how to use a DMM and make
adjustments while reading the DMM display. Replacing and adjusting
the power tubes is straight forward and fairly simple but the driver tube
adjustments interact with each other so you need to go through several
iterations. Additionally, if your driver tubes aren't matched you
may need to swap them around and mix 'n match with extra tubes you have
on hand as I did. The amp requires 4 drivers per channel for a total
of 8 driver tubes. I had a total of 12 identical driver tubes
to choose from to get a good match. This project took a good four
hours to complete since I don't do this for a living and I was being extremely
cautious, methodical in my approach, and very meticulous. Click
photo to move to next picture.
Return
to main Audio Page
Return
to Home Page